Chenna Poda is a delicious sweet dish that is famous for being offered to Lord Jagannath as part of a religious ceremony. For this reason, Chenna Poda Recipe is very popular in the Indian state of Orissa, although the love for this sweet has spread in recent years throughout India. Chenna Poda Recipe uses a baking procedure to create this dish, so this dish is also sometimes known as Chenna Cake, and hence the recipe described here can also be called the recipe of Chenna Cake.
For those who are new to Indian cooking, it would be important to mention that “Chenna” is the Oriya word for Cheese curd and “Poda” is the Oriya word for burnt. Understanding the meaning of these words would help us to easily understand, how Chenna Poda Recipe is prepared.
Final dish prepared by using Chenna Poda Recipe
What is the History of Chenna Poda Recipe Development?
Before we proceed on to describe, how to make Chenna Poda at home, a brief description of a small story of how the Recipe of Chenna Poda was accidentally developed would be helpful. Once a Halwai (Confectioner) was preparing some sweets using Chenna. However, as the day came to an end, he decided to rest for the night. As it happened some amount of Chenna (mixed with sugar) was still leftover, which he decided to put on a covered metallic pot and kept it over an earthen oven (which used woods), where the fire was almost dying out.
The Halwai (Confectioner) did this to save the sweetened Chenna from ants. However, when he woke up the next day, he found that the Chenna had changed into a baked preparation to his great surprise. As he tasted the sweet, he found that it had a brilliant taste and thus Recipe of Chenna Poda was born. Although the Chenna Poda Recipe preparation has since then got slightly modified with time, this has only increased its popularity with the masses, as the dish soon became a part of offering to Lord Jagannath.
Below we have described how to make Chenna Poda in the oven, using ingredients that are easily available in your neighborhood market. Although it has to be mentioned to those who want to know how to make Chenna Poda at home, that Chenna Poda Recipe preparation can also be done by using either a microwave or a cooker, or even a simple electric oven
How to Make Chenna Poda at Home?
The answer to this question is given below in question-and-answer format under the following subheadings –
What are the Ingredients Used in Chenna Poda Recipe?
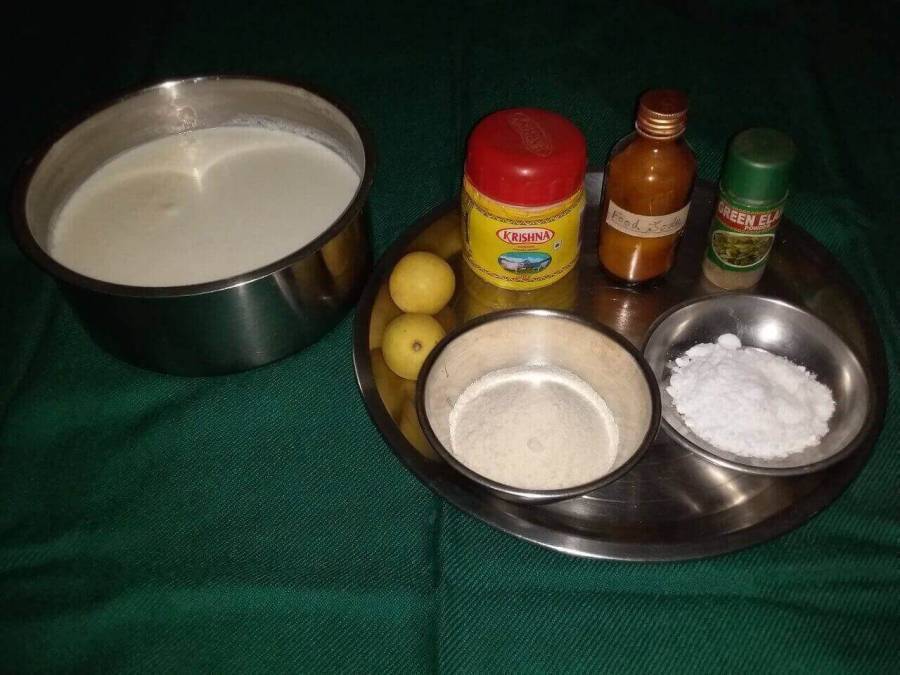
The ingredients used in the Recipe of Chenna Poda are –
1) Milk – 2 liters (Full Cream) for Chenna Preparation
2) Lemon – 2 in number
3) Powdered Sugar – 4 tablespoons used while mashing Chenna & 1 tablespoon for spreading on the baking tray
4) Semolina (Suji) – 2 Tablespoons
5) Baking Soda – 1/4th teaspoon
6) Ghee – 1 teaspoon
7) Milk /Water for mashing of Chenna – 3 to 4 tablespoons or as per requirement
8) Cardamom powder – 1/4th teaspoon
9) Dry Fruits (Optional) – 10 grams (we have not used them here)
Ingredients used in Chenna Poda Recipe.
How to Make Chenna Poda?
Below we have described the Chenna Poda Recipe Step by Step, using an oven as can be done easily at home.
Cut Lemon into pieces and take out its juice by squeezing it. Sieve the juice and later mix double the amount (in volume) of water to it, for dilution and keep it aside.
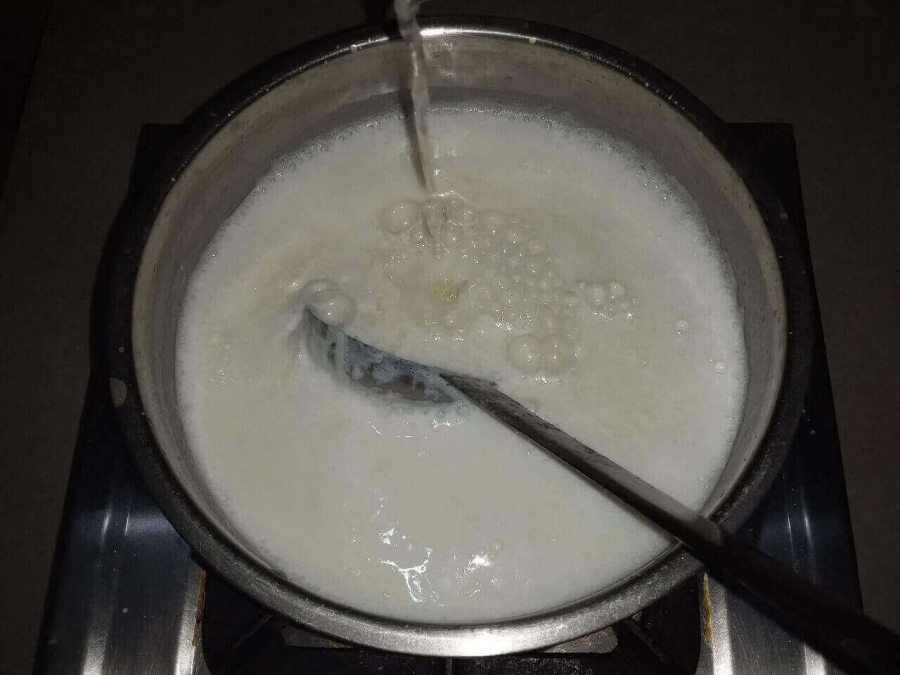
Take the milk in a pot and boil it on a medium flame burner. When the milk starts boiling then pour the previously prepared Lemon Juice into the boiling milk.
Lime water being added to the milk, as described in Recipe of Chenna Poda.
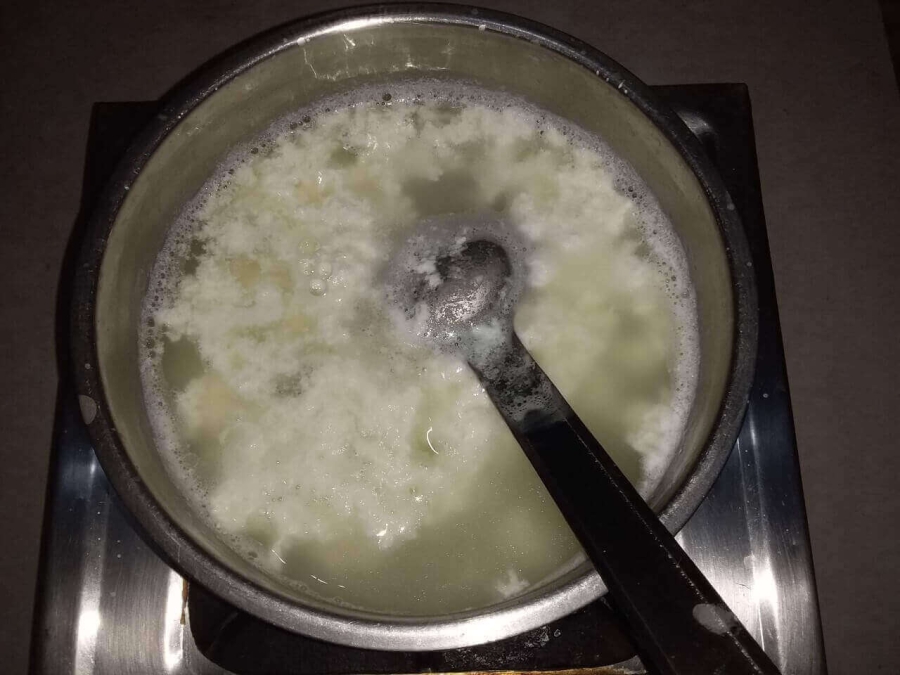
This step of the Chenna Poda recipe would ensure that soon the milk preparation gets curdled.
Curdled Milk as described in Recipe of Chenna Poda.
Once this process is completed then put a clean & soft cloth piece over a sieve and sieve the curdled milk over it, so all the Chenna will get collected on the cloth piece and the liquid water content can be discarded.
Collecting the Chenna over a clean cloth on a sieve as described in Chenna Poda Recipe.
Wash the Chenna thoroughly under clean tap water, so that the sour taste from adding lemon juice will disappear. Now all the open sides of the cloth are tied together and a sac is made. Squeeze the contents firmly by hand to drain out extra remaining liquid.
The Chenna collected in a clean piece of cloth as described in Recipe of Chenna Poda.
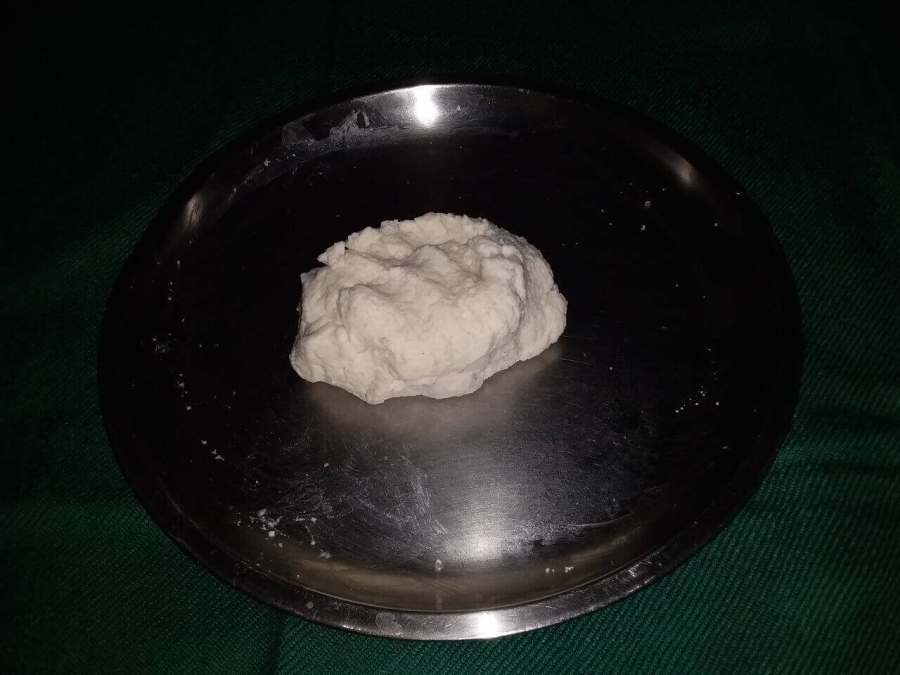
Later keep the moist Chenna on a plate after taking it out from the cloth piece.
Next mash the Chenna nicely, rubbing it by hand. Once it becomes softened then put powdered sugar and suji into it and mash it until the contents become evenly mixed and Chenna becomes smooth.
The Chenna mixture should be like an even paste and the texture should be like the batter mixture of cake. For this add a small amount of milk/water (3 to 4 tablespoons) with the Chenna mixture along with Cardamom powder and baking soda and mash the preparation again.
Texture of dough (Chenna mixture) used in Chenna Poda Recipe.
Once an evenly mixed uniform Chenna preparation is produced, we move to the next step of the Chenna Poda Recipe, which is baking the preparation as described below.
Grease the baking tray uniformly with 1 teaspoon ghee, especially at the bottom of the container. Next spread 1 tablespoon of powdered sugar evenly on the baking tray. Put the tray on a low medium flame burner for 2 minutes, for caramelizing the sugar.
Later take out the tray from the burner and keep it on a plane surface. Transfer the smooth Chenna batter to the tray and tap it twice, for making the top surface of the batter - smooth and horizontal.
Now transfer the tray (containing the Chenna batter) to a hot oven that was preheated earlier. Bake the Chenna preparation at 180 degrees centigrade for 20 to 25 minutes or more as per requirement.
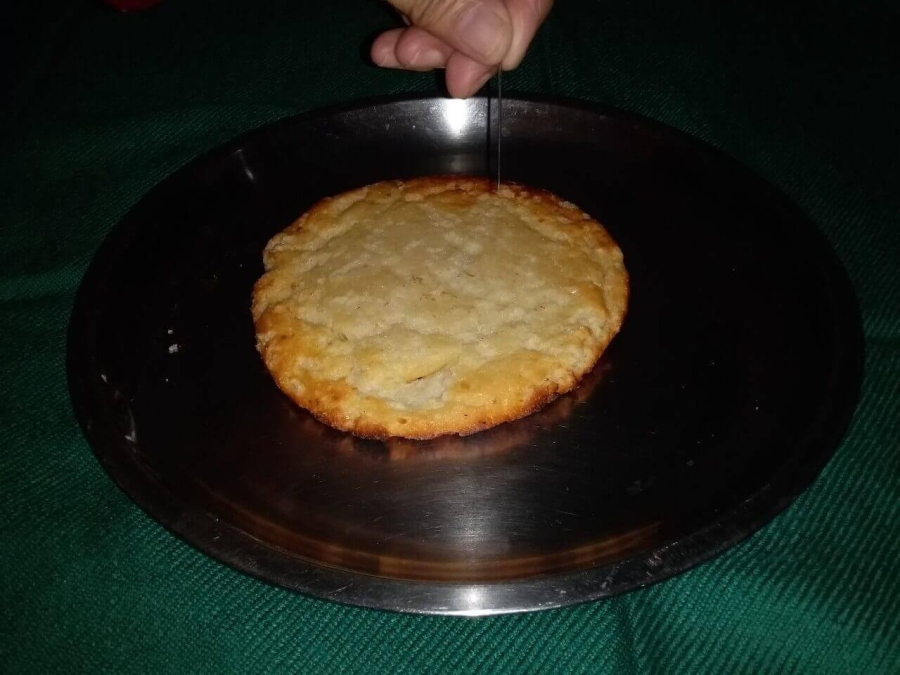
After the mentioned period when the baked Chenna becomes stiff then insert a needle or toothpick into the Chenna preparation and take it out. If it comes out clean and dry that means the baking preparation is completed. If particles stick to the needle or toothpick continue the baking process for another 10 minutes, till the preparation gets in the desired form.
Non adherence of particles to needle as decribed in Chenna Poda Recipe.
Later take out the tray from the oven and allow the preparation to cool at room temperature. The color of the top portion of the sweet becomes brown and the completed preparation is now called Chenna Poda. This brings us to the end of Chenna Poda recipe preparation.
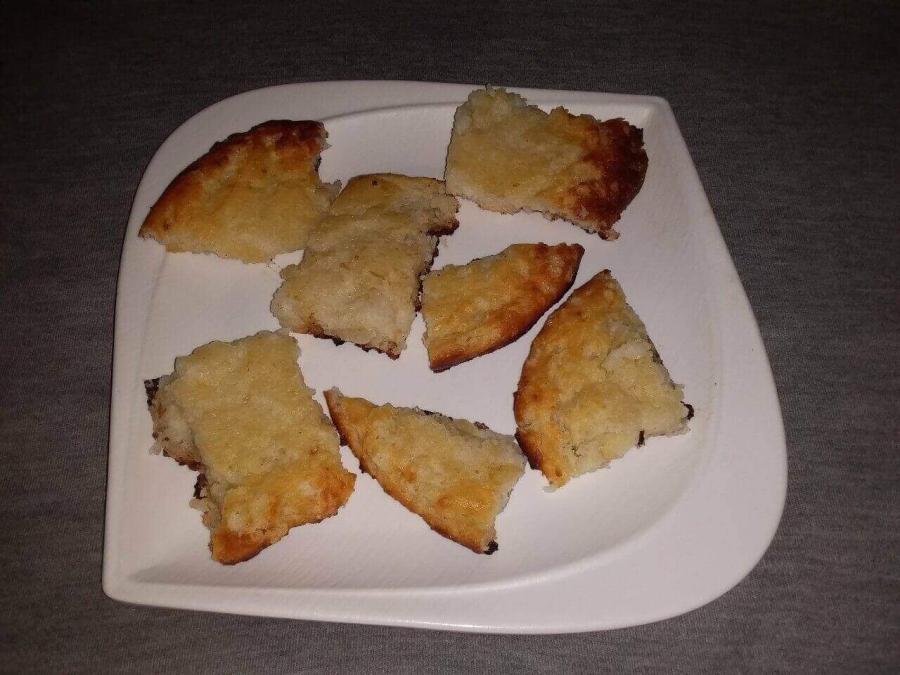
Transfer the Chenna Poda to a serving bowl and cut it into pieces and serve it to guests and family members.
Final dish prepared by using Recipe of Chenna Poda
How to Make Chenna Poda in a Pressure Cooker?
Above we have described the Chenna Poda recipe in oven preparation, however for people who want to know as to how to make Chenna Poda in a pressure cooker, the steps are the same except for the baking procedure. In this Chenna Poda mixture after being transferred to a tray is put inside a pressure cooker (without using its weight & gasket), which is put over a low flame burner, to bake the Chenna preparation for 1 hour. The final steps of preparation are again the same as before.
(DECLARATION - All the images used in this site, are either from personal collection, or are images available in Public Domain. The owner of this website is grateful to all those, who donated their images to – Wikipedia, Wikimedia, Flickr, Pixabay, Picryl and all other sites; for free use, as images in Public Domain.)
Disclosure: When you purchase a service or a product through our links, we sometimes earn a commission, at no extra cost to you.